Essential tips on getting the best out of your kit
Walking poles can make all the difference to a long hike, taking you from a tired hiker with knees buckling dreaming of sinking into a sofa with a cold pint to a determined, fast-paced hiker powering up the steepest of climbs, grinning like you did when you were eight years old.
But even if you have a pair of poles, you might not be getting the most out of them if you are not using them correctly.
- Essential guide: The best hiking poles
We asked Luke Scrine, outdoor accessories buyer at Ellis Brigham Mountain Sports, for his advice on what to look for when buying trekking poles, and how to use them once you have them.
Where to start
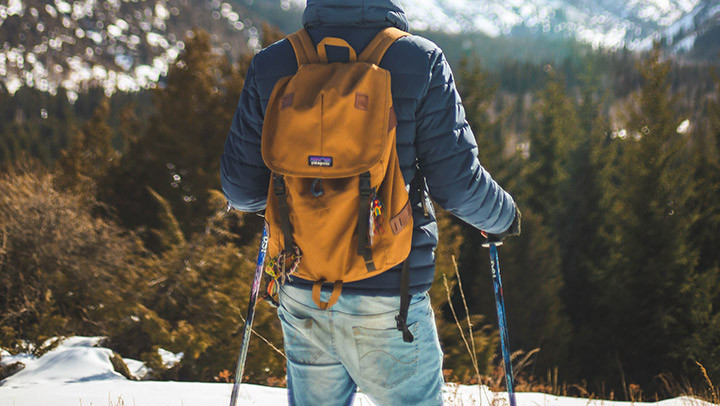
He recommends using poles for all hikes: “They significantly reduce stress on your knees and joints, aid balance on uneven terrain and encourage an effective walking rhythm that helps reduce fatigue and improve endurance.”
The first thing to do is, if you don’t have a pair of walking poles, is to get yourself a pair – handily, we can help with that via our comprehensive guide.
It’s useful to know how the poles are constructed: they can generally be divided into three parts: the handle/grip, the shaft, and the locking mechanism. The poles themselves can be made of different materials, with aluminum and carbon fiber being the two main materials used – aluminum for strength and durability (at the expense of weight), and carbon fiber for lighter, more expensive models.
- Get the kit: The best hiking boots for men | The best hiking boots for women
“The type of walking and terrain you are tackling will also have an impact on your selection,” says Scrine. “Longer days and more strenuous terrain favor lighter poles, but strength and durability will still be crucial. This is where premium poles come in, made from high-grade aluminum or carbon to give strength without a weight penalty.”
The right fit
Once you have your poles, you should ensure you have extended them to the correct length. For this, bend your arms 90 degrees at the elbow, and where your hand lies is where the pole’s grip should be. Then put your hand up through the strap and grip the handle – the straps are designed to bear a proportion of your weight through your wrist, so your hands do not fatigue from gripping for hours at a time.
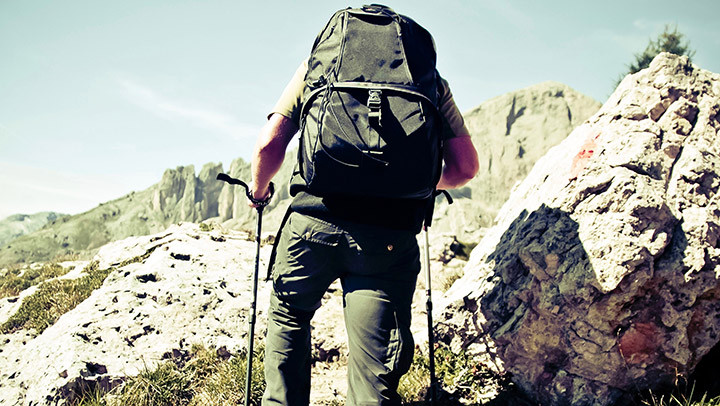
Most telescopic-folding poles are fully adjustable, so you can move the sections up and down using the locking mechanisms. For unadjustable poles, you’ll need to know your correct measurement before purchasing.
Once you have adjusted them on the trails, make sure all locking mechanisms are fully tightened or snapped shut – the last thing you want is for one pole to telescope in while you’re trying to navigate a hair-raising, rock-strewn descent.
Practice, practice, practice
Now they are set up correctly, and you know how to assemble and dissemble them, practice is key. Get out on the hills and start hiking and experimenting with how to use them.
- Essential guide: Unmissable world hikes
At first, it will feel highly unnatural to be using poles, and you might whack yourself, or your fellow hikers, a few times, but persevere and it won’t be long before you begin to feel comfortable and you’ll work up a walking rhythm.
Going uphill
This is where the poles come into their own, relieving the load on your legs – particularly your knees – as you dig them in to help push yourself up towards the summit.
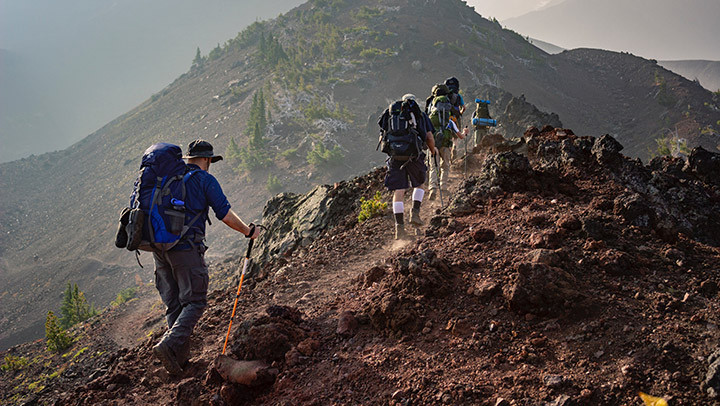
“It’s best to shorten your poles slightly on climbs so they are not way above your head when climbing, then you can gain maximum leverage from them,” says Scrine. “The poles should be aiding your ascent, but you shouldn’t be relying on them solely to pull you up, or your arms will get tired quickly.”
Poles are particularly useful on steep ascents, where normally you’d be bent over, climbing with your hands on your thighs. Instead, plant them simultaneously each side of you and push your weight through them as you step up. If it’s
Going downhill
Descending uses a different set of skills to ascending. “Lengthen your poles slightly to allow for the change in gradient – it will also make them more comfortable to use,” says Scrine. “Reduce the impact on your knees by placing your poles slightly ahead of you, but be careful not to over-stretch.”
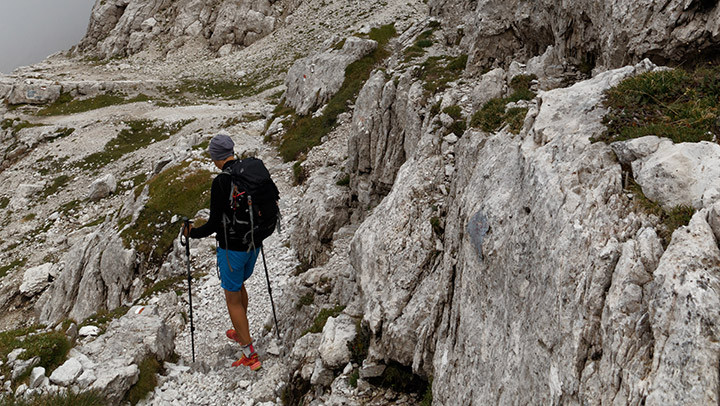
Put your hands over the top of the poles and place them in front and slightly to the side as you descend. This way you are reducing the weight going through your leg joints in particular – the knees are where many people suffer pain during descents.
Using the poles in this way will also help stabilise you if you lose balance while plummeting downwards, which can often save you from a nasty spill.
On the flat
Scrine says that poles have their place on flat terrain, too. “Although the benefit of poles will be felt most when ascending and descending, using them on the flat is also beneficial. They will continue to reduce stress on your legs by sharing the load more evenly across your whole body.”
You should place them each side of you, asymmetrically, as if they were extensions of your arms, so only one is in contact with the ground at a time (the pole opposite to your foot, so if your left foot is moving forward, your right pole should be moving with it), to help propel you forward.
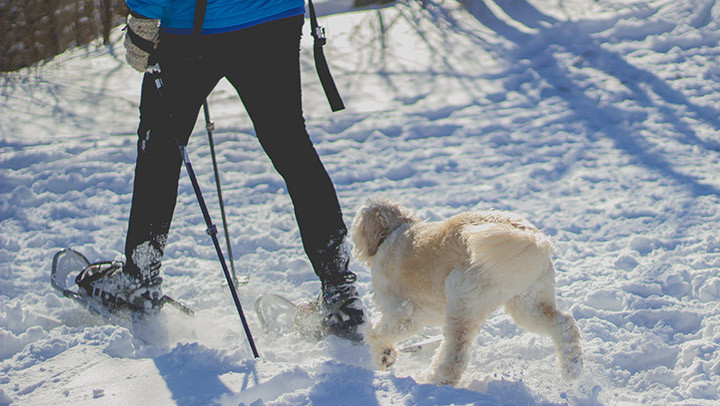
“Used correctly, they can also increase your pace, which has additional health benefits,” says Scrine. Keep the poles at about a 70-degree angle pointing backwards, before pushing on them to move you forward. You will get more speed using less effort.
Pole hacks
Now you have the basic technique down, Scrine gives some final expert tips to make you King or Queen of the Poles. “Walking techniques vary, so it’s a case of finding one that works best for you,” he says. “Your poles should act as an extension to your arms and flow with you rather than feeling awkward or difficult to place.
“And avoid gripping the handles too tightly – keep a looser grip and use the strap to help support your hand and wrist; this will encourage a more natural rhythm as the poles move with you.”


