Hike one of British Columbia's most scenic mountain routes
There are few places as synonymous with the outdoors as Canada’s British Columbia province. The enormous range of mountains mixed with open water, island fjords and easy access by road to many of the most scenic climbs, hikes, snowsports, and mountain biking trails have made it one of the most popular destinations for outdoor lovers around the world.
The enormous mountain region of the Cantilever range offers access to some of the country’s most impressive hiking locations, but for us the town of Squamish is one of the best. Situated an easy hour’s drive along the Sea to Sky Highway from Vancouver, it’s a playground for outdoor adventurers.
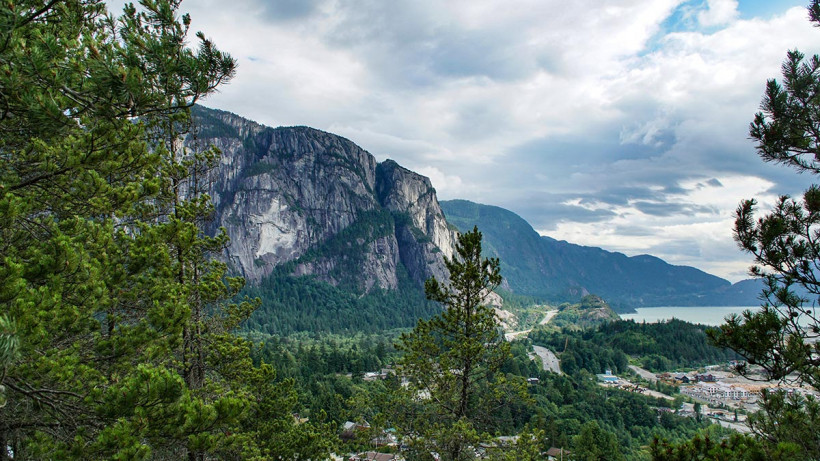
Amongst its many hiking routes, the Stawamus Chief is one of the most famous. A section of three connected peaks known simply as ‘The Chief’, the route combines woodland trails, impressive vistas across the fjords, a variety of connecting paths and a healthy level of technical terrain to satisfy the most demanding of hikers.
The three peaks can be done separately or combined into one longer hike with a total ascent of 1000m. With a high point of 702m it’s also accessible in the colder months when most of the surrounding mountains are layered with snow.
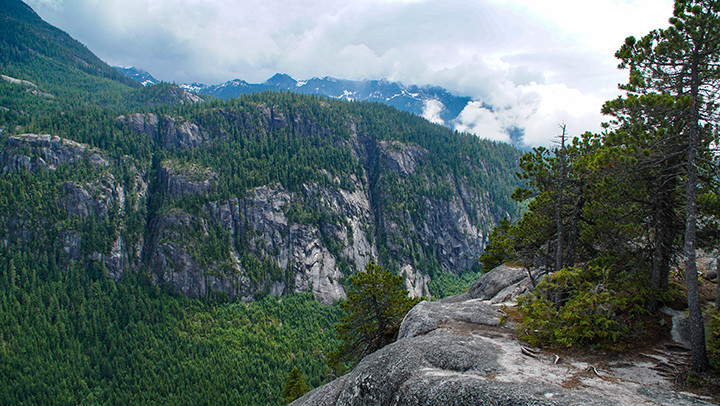
Overview
The three peaks that make up the hike are well signposted and have frequent markers placed on trees along the route (visible by little red squares on white backboards). The first peak has largely been artificially trailed with steps and rocks, however as you move onto peaks two and three, the route is significantly less maintained and in many places demands some light scrambling and use of ladders and chains to ascent the route. There are also many sections, especially at the peaks, that have sheer drops, so a fair bit of care needs to be taken.
Wildlife
Like most of British Columbia, the Squamish area is full of animals. You’ll be harassed by chipmunks and squirrels who’ve been conditioned through tourism to come right up to you looking for food. Make sure you don’t feed them though as it can affect the ecosystem. The area is also populated by more dangerous animals like coyotes, cougars and bears. Luckily due to the number of people accessing the routes, they tend to steer clear from the trails. However, you still need to be vigilant and as with any hiking routes around British Columbia, you shouldn’t walk alone.
Starting point: Shannon Falls parking lot
Difficulty rating: 2.5/5
Distance: 7km
Elevation Gain: 1,000m
Highest Point: 702m
Time Needed: 3-5 hours
Season: March to November
Dogs Allowed: Yes
Signs
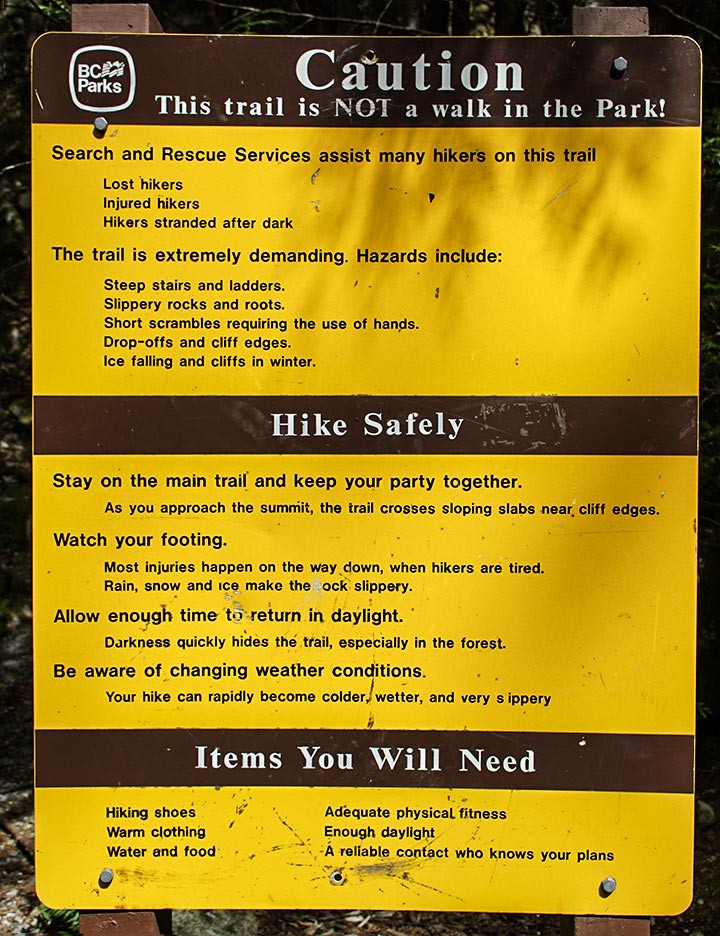
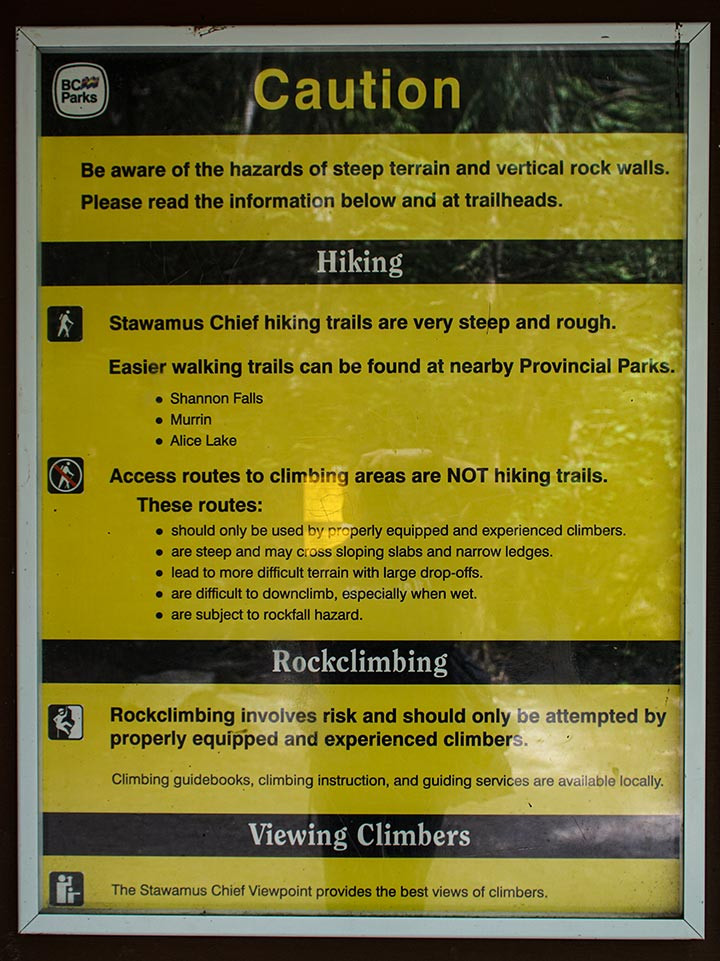
Access
The start of the hike begins via one of the car parks situated easily from the Sea to Sky Highway. Unlike some of the other trails in the region the popularity of the route has resulted in a large number of car parking spaces being made available as well as camping spots. It is by far one of the most well-trodden locations in the area though, so heading over at weekends or during high-points in the summer can make it difficult to find a space.
The route
Peak 1
The lowest level of the hike begins in well-marked woodland trails with many people visiting to see the Shannon Falls, British Columbia’s third highest waterfall at 335m. The signposted trails wind through the woodland until reaching a steep set of stairs leading into the ascent. This first section is a demanding hike in terms of ascent but offers a well-maintained terrain of wooden and rock steps.
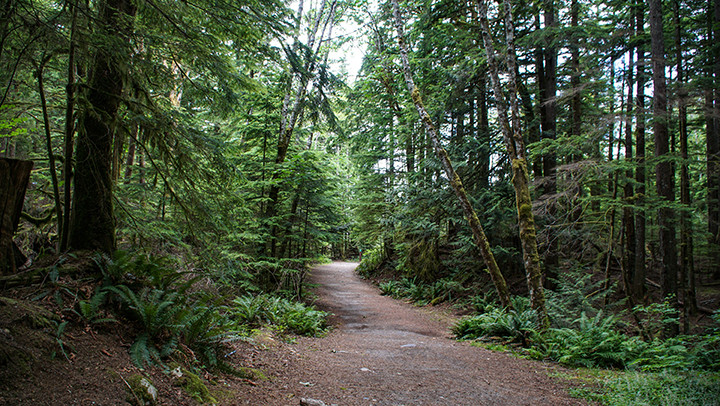
Within the first 30 minutes of ascent is the first signpost which marks routes to the Upper Shannon Falls and the Sea to Summit Trail, a 918-metre hike which can also be accessed via the Sea to Summit gondola service. Stick to the left trail here to make your way up to the Chief peaks.
A second marker gives options to access the first two peaks or a separate one to head straight to peak three. Again, stick to the left path that winds through the woodland. Shortly after this sign, you’ll reach a small viewing outcrop with a large boulder sat in the middle of it. A perfect spot for a rest before the steep climb up to the first peak.
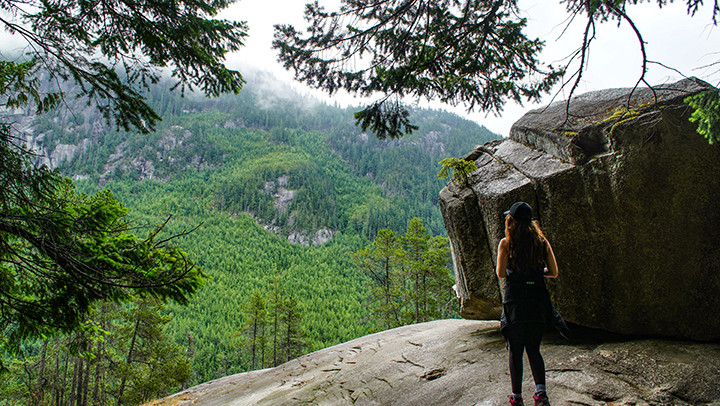
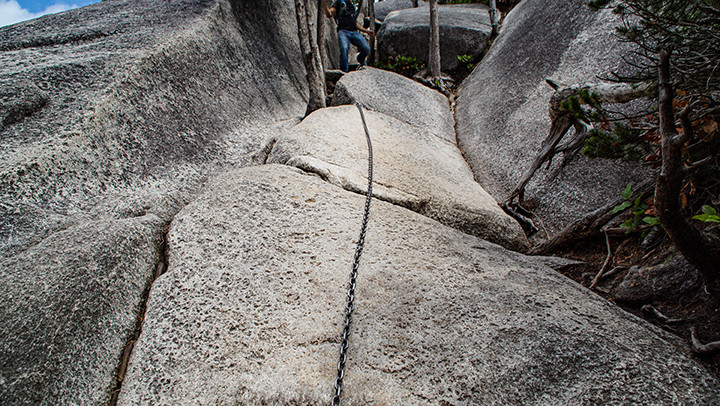
The path from here isn’t as clear as the others. Head left into the deeper woodland for a short walk until you reach the signpost that marks the route upwards to the first peak. This one path is where the route becomes more taxing, it’s also the only route up and down to the first peak, so you’ll be seeing this section of the trail twice. From here you’ll step out from the woodland onto the large granite monolith of the peak (interestingly, it’s the second largest granite monolith in the world). This section of the hike becomes less obvious as you hike up across the rock to the top. You’ll also need to clamber up a couple of steeper areas where a metal ladder and chain are set out to make things easier.
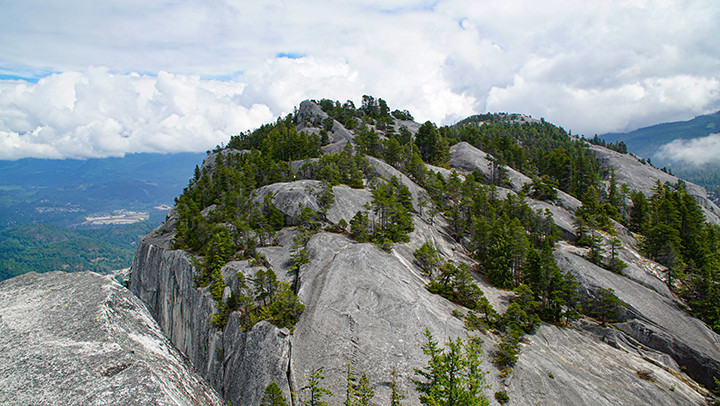
The last few metres will take you up over the largely open rock until you reach the enormous plateau at the top – possibly the best views across the whole three peaks which looks out over the fjords of Howe Sound and the town of Squamish. You’ll also get to see the other two peaks that make up the rest of the hike. In good conditions the rock offers a fair amount of grip, but there can be some tricky sections, so using your hands to negotiate the route is advised, especially in wet weather.
Peak 2
After you’ve enjoyed the view and fended off the inevitable chipmunk attention from the first peak, head back down the same route until you reach the woodland signpost. From this point things get more taxing and the trails a bit sketchier. You’ll also lose about 100 metres of elevation that you’ll need to make up again for the next peak.
As you make your way through the woodland route, keeping an eye on the orange markers on the trees, you’ll head past an impressive view of Mt Garibaldi framed between the walls of the first two peaks. There’s also a sheer drop below, so don’t get too close. After some more woodland, you’ll hit the trickiest section of the hike marked by a series of metal chains leading up to peak two. The earliest part of this route demands a bit of scrambling, but it’s by far the toughest hurdle from here on, so don’t expect it to get worse.
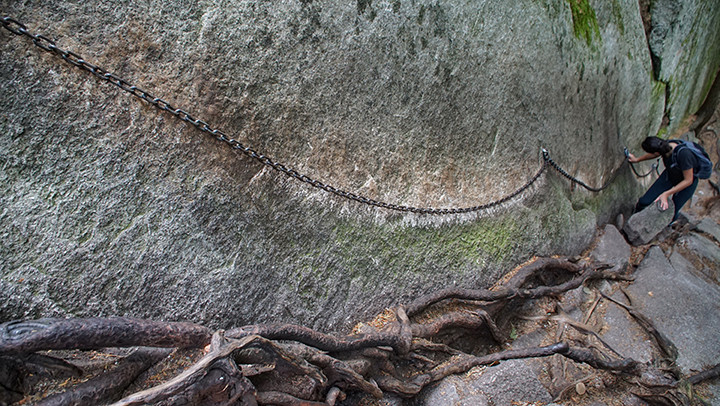
After another clamber up the granite, you’ll reach the second peak. Here you’ll get an impressive view of the first peak, usually with people at the top taking pictures. The route will meander across the peak as you head on to the final part of the hike.
Peak 3
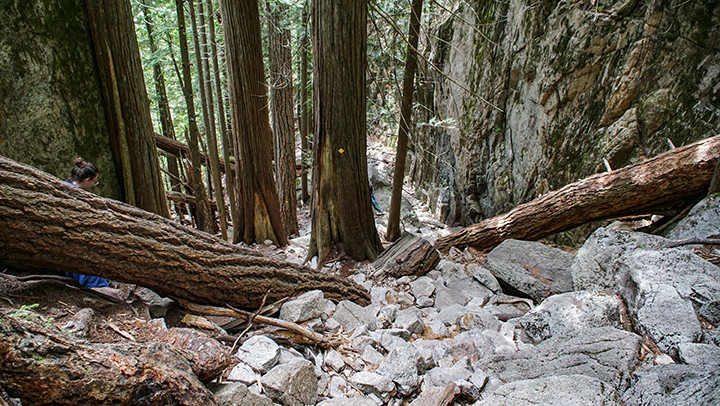
The final part of the three peaks is by far the most technical as the terrain becomes noticeably less maintained with fallen trees and various other obstructions along the path. Luckily you don’t have a great deal more elevation to make up in order to hit the 702m final peak, so most of the hard work is done.
Following the yellow markers along peak two with the last peak in the distance, you’ll drop slightly into a gap between them before negotiating your way through a denser section of trees. A marker along this route highlights the trail that heads back to the starting point and one heading left up to the third peak. This climb winds its way around the rock before an easy walk up to the top where you’ll have views of the northern part of the mountain range and the Sea to Sky gondola route.
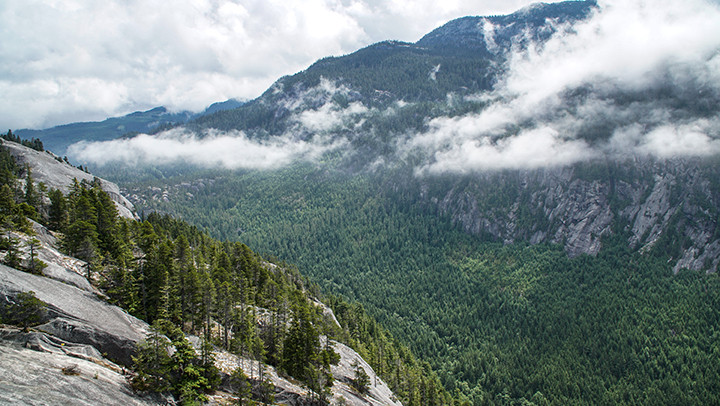
Heading back down the same way you’ll make your descent down to the starting point at the previous marker. This final section is where you need to watch your footing, with the majority covering a very quick and scrambly trail that’s often difficult to navigate. As the final section is all downhill it’s easy to speed up at this point, but don’t fall into the trap. The rocks for the next few hundred metres are often unstable with tree roots sticking out making for some precarious footing. Take it steady until you meet the earlier, well-maintained path which leads back to the start.
Once you’ve reached the lower trail, circle round to the left to finish off with a look at the impressive Shannon Falls.
Kit
Hiking the Chief is largely dependent on the weather. The area generally sees warm and dry summers and cold, wet winters. Unless you’re a sufficiently advanced hiker, making your way up in the winter months isn’t advised as the moisture causes the rock to become very slippery. However, rain isn’t rare in the summer either, so planning ahead for the occasional shower is a necessity.
A lot of the hike is quite demanding which means you’re likely to get hot and sweaty at points. Layering is the key to managing it well, especially considering you’ll go from low woodland trails to open rocky plateaus throughout the route. As a bare minimum, make sure to pack a breathable base layer along with a lightweight rain jacket that can be stowed away easily.
On a good day the granite rock surface that leads up to the peaks will have a good level of grip, but at the slightest sign of rain that will be significantly lowered. Choosing a hiking boot with good grip is very important, as well as making sure you have something that’s tough and sturdy enough to handle to varied and uneven terrain across the route.


