
We talk to the experts about yoga's current buzzword
If you’ve been practicing yoga regularly over the past couple of years, you’ll probably have been told at some point or another that you’re ‘releasing’ your fascia as you relax into a posture. However, fascia and ‘myofascial release’ are not just yoga buzzwords; fascia is a current subject of scientific research and is considered to be an important part of our anatomy we should all be more in tune with.
- Essential reading: Shop the best yoga mats
But what is it, what does fascia look like and why is releasing it so important? To find out more, we sat down to chat with some experts in the field.
What is fascia?
An easy way to understand the body’s need for fascia is to think of it like cling film or candy floss, wrapped around our organs and muscles, allowing us to move. Dr Ariele Foster, a physiotherapist, yoga teacher and founder of Yoga Anatomy Academy expands on this, citing the Fascia Research Congress’ definition of fascia as, “a sheath, a sheet, or any other dissectible aggregations of connective tissue that forms beneath the skin to attach, enclose, and separate muscles and other internal organs.”
- Read more: The best yoga retreats in the world
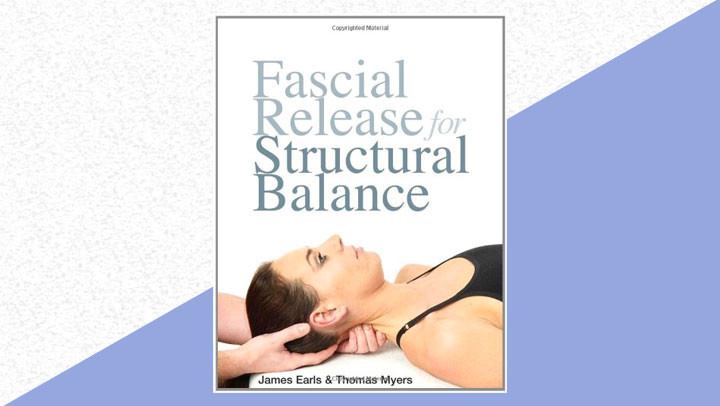
Tom Myres, fascia expert and author of Anatomy Trains, writes in his book Fascial Release for Structural Balance, “Your fascial webwork began as a unified whole about the second week of your development, and will remain a single connected web from top to toe and from birth to death. From the moment of its inception, it has been folded and refolded in the complex origami of embryological development into a human who can stand, eat and read on its own.”
While fascia is no way new, the scientific community has only started to examine the role of fascia in the past 20 years. Fascia is thought to carry strain, stress, trauma and injury, and when trauma or injury occurs, the fascia hardens and blocks, stopping oxygen and nutrient flow to the injured site. For this reason, Foster sees current research into fascia as “paradigm-changing.”
Explaining, “the way the term fascia is being used right now is as a label for formerly disregarded and discarded tissues in the body – parts of ourselves that were seen as inert, and now seen as important in their own right from biomechanical, immune and other physiological standpoints. People are interested in fascia because we are always seeking new pathways to optimal health, basic healing, and out of pain.”
Can fascia be ‘released’ and why is this considered to be important?
The complex fascial system is thought to look like a spider web, connecting the entire body. ‘Myofascial release’ are techniques used to stretch and smooth this web, allowing it to move freely, however, this is still a new area of research amongst experts.
Foster explains, “the jury is out on whether the length of fascial tissues can be changed (i.e. ‘released’), but what appears to be true right now is that massage and self massage stimulates the rich network of nerve endings that are present in fascia (and skin, and muscle) and have a fairly immediate effect of reduction of tone. Therefore your muscles may feel more relaxed and there may also be an analgesic effect.”
The aim of myofascial release is to allow the fascia in the bones and joints to move freely, releasing any pain and giving an overall feeling of wellness. In his book Fascial Release for Structural Balance, Myers writes, “Understanding muscles and nerves – though essential – is not enough. Approaching the fascia requires a different eye, a different touch, and tissue-specific techniques.”
For some experts, the idea that you can ‘release’ part of the body is absurd (an analysis of fascia on painscience.com voices plenty of criticisms and questions), yet if you’ve ever felt better after foam rolling or walked away from a yin yoga class feeling like you’re floating, the chances are these benefits could be related to your fascia.
This is thought to be especially true at sites of an old injury; “broken bones, massive bruises and deep cuts all have long term effects on the quality and cellular composition of tissues and fiber pattern”, so physical trauma can directly affect the fascia, Foster says.
What techniques can be used for myofascial release?
In Anatomy Trails, Myers explains how when it comes to fascia, we must focus on the body as a whole, not by specific muscle groups. Myers writes, “while the term ‘myofascial’ has steadily gained currency over the last couple of decades, replacing ‘muscle’ in some texts, minds and brand names, it is still widely misunderstood.
“In many applications of myofascial therapies, the techniques taught are actually focused on individual muscles (or myofascial units, if we are to be precise), and fail to address specifically the communicating aspect of the myofasciae across extended lines and broad planes within the body.”
Myers’ theory divides the body into different planes to helps us understand how yoga and massage can aid myofascial release. The superficial back line, for example, stretches from the ankles, up the legs, hips and spine, to the temples. Practicing downward facing dog, for example, can help strengthen and stretch this line.
A form of soft tissue therapy, myofascial release is used to relieve pain and increase mobility. One way to do this is to use a tennis ball or foam roller to massage specific points, applying pressure (enough to do some good, not enough to cause pain) to release knots in the muscles.
Yoga teacher Cloudia Hill explains that the feet are a good place to start if you’ve not tried this tennis-ball myofascial releasing before; “take a tennis ball and use it under the soles rolling it forward and back. Once you’ve found an area to work into, use the ball to focus on that area and apply as such body weight as is comfortable for 3-5 minutes”. The same can be done for other areas of the body, lying on the floor and working into the calves, ankles, lower back, upper back and shoulders.
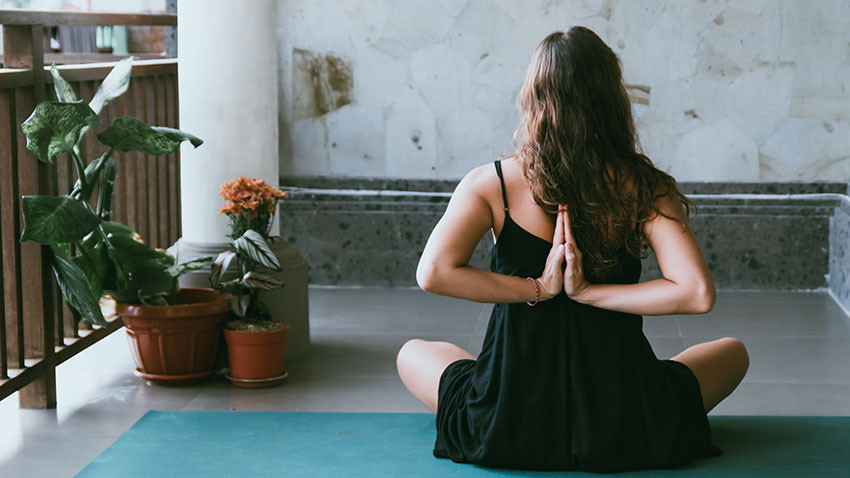
On the subject of myofascial release and yoga, Hill believes yin yoga is more beneficial than other forms of yoga. “In yin yoga, you are holding a posture for anywhere between 2-5 minutes. It’s important to remember that the body takes time to relax and the fascia cannot be targeted until the body is relaxed, which is where the benefit of holding postures for a longer period of time comes in. This means we can go deeper into our subtle body and beyond the superficial fascia into the deep tissues of the fascia, which lie between the muscles, bones and organs.”
Hill also adds that like other forms of physical therapy, yoga “will not have any effect straight away. Pain could be a sign of a long-standing injury, so yoga is not a quick fix, but will regular practice you will definitely start to feel a difference.”
The best yoga postures to try for myofascial release:
Although all forms of yoga will be good for stretching and strengthening the fascia (as Foster adds, “motion is lotion”) there will be some poses that really lengthen myofascial lines. For the postures below, try holding them for between 90 and 120 seconds, or until you feel heat in the part of the body you are trying to open.
Downward Facing Dog
Why: As mentioned above, the downward facing dog targets the superficial back line (SBL). Problems with the SBL are often felt in the arch of the foot, then spread up the legs. Instead of thinking about stretching your hamstrings as you relax into down dog, think about all the parts of the body where you feel the stretch, this will help you begin to think of your body as a whole organism, not just separate parts.
How: Start on your hands and knees. Lift your hips high and activate your arms by pressing your palms down on the floor and think about pushing the floor away from you. Scan your body, notice how far your heels are from the ground and practice moving your weight around, raising up onto the ball of each foot, ‘walking’ your dog. Think about relaxing your voice box, then your tongue, then your jaw.
Sleeping Swan
Why: Focusing on opening the hips, this pose strengthens the lateral line of fascia. Problems with the lateral line are often felt in the tibia band, on the outside of the hip and thigh. The sleeping swan, or pigeon pose externally rotates the front hip and gives the quads and hip flexors a nice stretch. Ease yourself into the pose, putting a cushion under the knee if you feel too much pressure there. Try and relax into the pose for the full 120 seconds.
How: From cat pose (on your hands and knees), slide your right knee between your hands and flex the right foot and move it forwards. Check in with how the knee is feeling and if it feels stressed, bring the foot in closer towards the right hip. Tuck the back toes under and slide the back knee away until your right buttock is as close to the floor as it can be. To make this more comfortable, you can lie on a bolster, placed lengthwise under the chest.
Camel Pose
Why: The camel pose focuses on the superficial front line (SFL), which connects the entire front of the body. Problems after whiplash or neck strain are often felt in the SFL, but the SFL also controls movement in the trunk, hips and knees. The camel pose supports the lengthening between the quads and the jawline – two parts of the body where you should really feel this stretch.
How: Kneeling down, position the shins hip-distance apart. Start by placing the hands on the back of the pelvis and feeling the backbend as you look towards the sky. If this is too much, stay here for the full time. If you feel like you can, progress to lifting the ribcage upwards and reaching the hands to the calves or ankles.
Half Lord of the Fishes Pose
Why: The spiral line (SL) is one of the more complex lines in fascia, creating a loop around the body in two opposite circles. The SL stabilizes the body in all planes and when bothered, this line can cause rotations and imbalances in the body. This pose stretches the spine, while opening the hips and working the legs.
How: From a seated position, bend your right leg, with your knee pointing upwards and the right foot flat on the mat. Bring your left foot under your right leg so your left calf rests on the floor. Bring your right hand behind you and take a simple seated twist, putting your left hand on your right knee and pulling it towards the body. Pay attention to how easy this stretch feels on both sides, feeling for any tightness in the hips and focusing on the areas where you can feel the heat.
Seated Gate Pose
Why: The arm lines (AL) run through four different planes in the shoulder, along the sides of the arms and to the end of the thumb.
How: Sit on the floor with your legs in a ‘V’ shape in front of you. Bend the right leg and put the right foot on the inner left thigh. Slide the left arm along the left leg and hold the calf or foot, depending on what feels right for your body. With the chest forward, raise the right arm to the sky and bend over your left leg.


